Hello,
after I got rules on wednesday and played for first 10 minutes, I got this need to get the streets done as soon as possible. Paper was not enough!
So, I've decided it was enough of thinking (I was thinking if I should keep 2.5 cm spare on each side of the tiles or push road to one edge, thus giving me more space to make street parkings later on), and I had to do something. And I did.
I took out the tiles and started drawing the outlay. I've decided to divide 30x30 cm tiles like this: 2.5cm spare (mostly for fences to box in the parking lot, but also for flowers, or just random things), 5 cm sidewalk, 15 cm lanes (1 7.5 wide for each direction), 5 cm sidewalk, 2.5 cm spare.
Then I cut one tile on 6 straps for sidewalk. This gives me enough for 3 tiles, so I need 4 tiles of cork for 3 tiles of road.
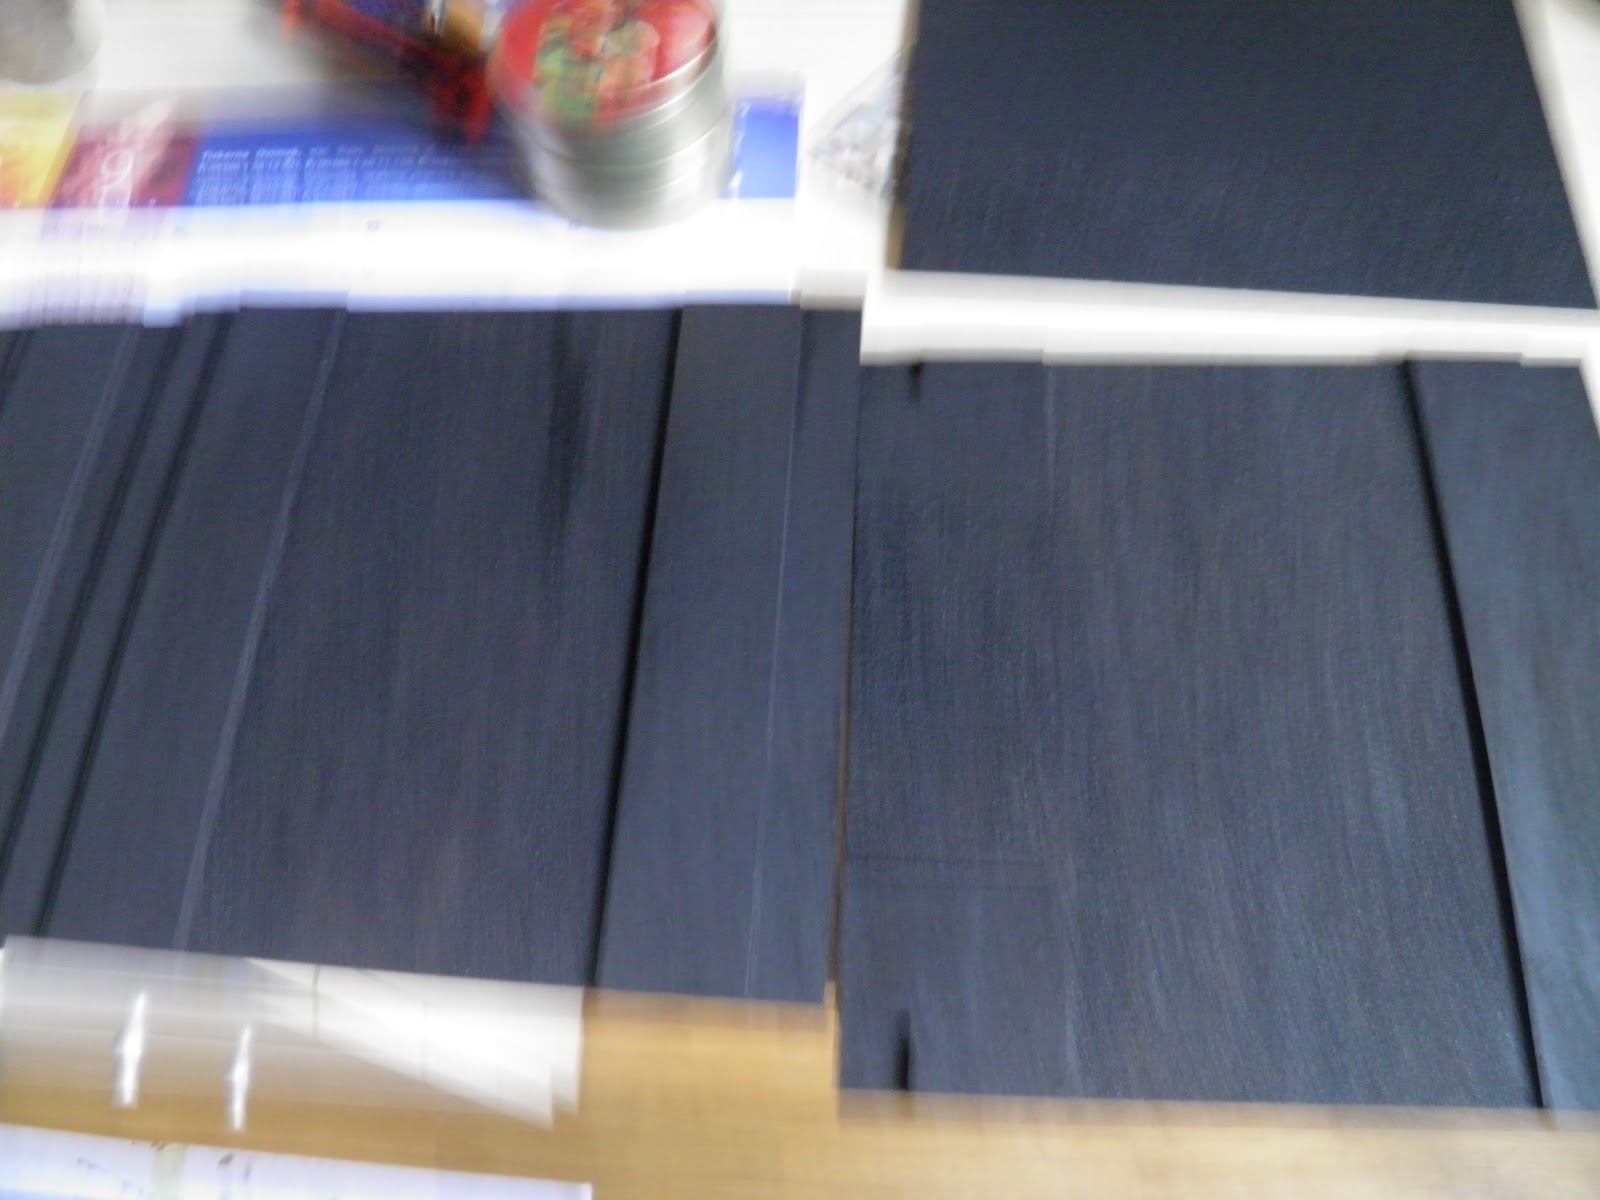
I've put it on the board, to see how good I've cut it:
You can see I got sharp corners. I was planning on rounding them, but that would be pretty hard. And cutting round shapes with in cork...I was afraid I might do more damage than good. Nobody really drives on those roads, so there is no real problem, hehehe.
I went on with gluing, just used dilluted PVA. After I had all done, I put some intellectual weight on them, just to make sure bond is good. There was a little bit wrapping, but nothing really bad. I hope books didn't move any of the sidewalks, because that would end up bad.
I have left it to dry over night and went to apply sand next morning.
After I managed to get the sand on (notes to self: apply in patches on bigger surfaces, let REALLY dry), I went on with painting blakc paint. I took three coats. Above is a picture of my workstatio nin my room. The thing is it started raining and I had to move inside. I strongly advise you keep things outside, all the sand that chipped from the tiles made my room my own little desert!
Picture below has just a (blurry) close up on the road tiles:
After the tiles were sufficiently black, I went on with grays. Sorry for the blurry pictures again, it was all messy and I had to take a pic and work on ASAP :P. So....the firs, I had sidewalks pretty dark. That wasn't good enough, so I went with ligher gray all over them. Here is before / now picture to see if I made a right decision:
After a while, I saw I was drybrushing light grey too much over the roads. I gave roads a knock-back wash of dilluted black paint. Did same for the sidewalks, so you don't get blinded by all the brightness:

Next I went to paint some lines and such. I wanted to include some yelow paint in, just because I like it. Didn't want to do it too much, so I went for border lines only. Below you can see all nine tiles put together to form 90x90 cm square. That is 1.5cm short of 3x3 feet, but thats unnoticable. Here, you can see I didn't left any of the tiles blank. Those that don't have main street on them, have a strip, 7.5cm (so 1 lane) wide, of local roads. I am not happy with the rest of the free space painted. Its only greys and such, but I think I should go with green, could also use those as a rural roads then. Well, that's done is done, I only had black and grey paint (yup, 2 paints for all you see (minus white, red and yelow thingies), just mixed different amounts of grey in black and voila.

Here is a close up on a "detail". I've designated this square (otherwise identical to 4 others) for my box store, no-parking zone is there to give the space for loading docks. Check few posts back, where I've shown you the store - it has 2 openings on the back for storage. Don't mind my fabolous skills for making an even cross -.-
Here is a close up on 3 tiles, two roads and a parking lot. I've played a bit, made one parking slot for disabled. Apart from color it is no different from others, all are 5 cm wide (because 7.5 seem too wide, nobody is going to park a bus here). Parking slots are 10 cm long, so you can see how I channeled the drive-in to allow for extra space needed. I now also reminded, I wanted to draw a disabled stickman on the parking slot, but will fix that some other day.
Well, that is it for now, those nine tiles allow for quite a variety of table set-ups. I will make curves one day, but for now, I think that is good enough. The bad side about mixing paints is, I have no clue how I will be able to make another tile just like those. To be honest, I was just slapping paints on, didn't think too much.
I wanted to seal it with matt varnish but it is raining outside and I am a chicken when it comes to spray paints. That varnish is my only can so far, I've even painted black by hand.
Overall I am pretty satisfied with how it turned out, but I'd change those areas of nothing to something nicer, marks are not the best etc...but it is my first board after all!
Now, while I wait I might as well go build some extra stuff, either zombies, "Joe's" fences ;), jersey barriers and some other junk to make the board look better than it is, heh.
Hope you've enjoyed!
Mathyoo


I love it when a plan comes together! It's looking good, Mathyoo.
ReplyDeleteGreat job on this. I wouldn't worry too much about the blank spaces. Once you place the buildings, fences, and cars. Those will just fade into the background.
ReplyDeleteTop stuff they look fab will be borrowing this idea me thinks
ReplyDeleteMy gods this is great! Good work indeed mate!
ReplyDeleteThis could be the break I have been looing for in order to get my roads done!
@ Vampifan Thank you :)
ReplyDelete@ Joe I went to play a test game just after I had this posted and you're right. But 3x3 is really small, i found out. Can't put bigger board on my table :(
@ Brummie Hehe, not that I'd want to brag, but wrapping is very limited, it is somewhat cheap and it is extra modular :P
@ Siwoc Thanks :D. I am glad it inspired you :D
great stuff!
ReplyDeleteWhere do you put your 3x3 playing area? On a small table?
You could get a board to go on top of the table to give you a bit extra room if needed.
Or play on the floor? Ok for you young bloke - not so good for old folk with dodgy knees though.
Thanks!
DeleteOn dining table, I could make, say, 6x3, but no wider than 3 across.I should probably really get a piece of wood and put that on table and then tiles on that :P. Floor could actually work, too, I really am young enough to still get up afterwards! :D
Ooh, shiny! I really like your roads. I've worked with cork just some days ago and I think I should get a better blade. I didn't even think about curves, because I had enough problems with cutting straight lines.
ReplyDeleteWhiteface / Oliver
Thats what I thought for myselves! And I don't know about the blade, could be. I use cheap "olfa" knife that had 10 spare blades, only used two for all my terrain so far. Just got to keep in mind its better to score it two or three times than to cut one deep. My biggest problem is that I draw fat lines and then cut too short or too wide :P
DeleteThey look fantastic, and really bring you closer to playing.
ReplyDeleteI need to do the same...
This is good work. If you are looking for a different effect you can buy textured spray paints. I think it would be too expensive to do a large area bit works for narrow roads and paths.
ReplyDeleteKeep it up
@ Adam, thanks. I actually played, and even took some pictures and wrote a post, but i will save it for later this week as I am off to Vienna and won't be able to do any real stuff, hehe. And to help you start, I found out the hardest thing is just get yourself to it. Once I've started mine, I didn't stop until it was finished, if only I found time.
ReplyDelete@ Fred Thanks for the tip, will look into it. But thats just too easy then, isn't it? :P
True good! :D
ReplyDeleteGreat job!! The final result is very good!!
ReplyDeleteOh, welcome! Thank you :D
ReplyDelete