I've been working on some trees and such for past few days. Also decided to finish my crypt. Here is all what I've done since last time (and graves templates from few posts back):

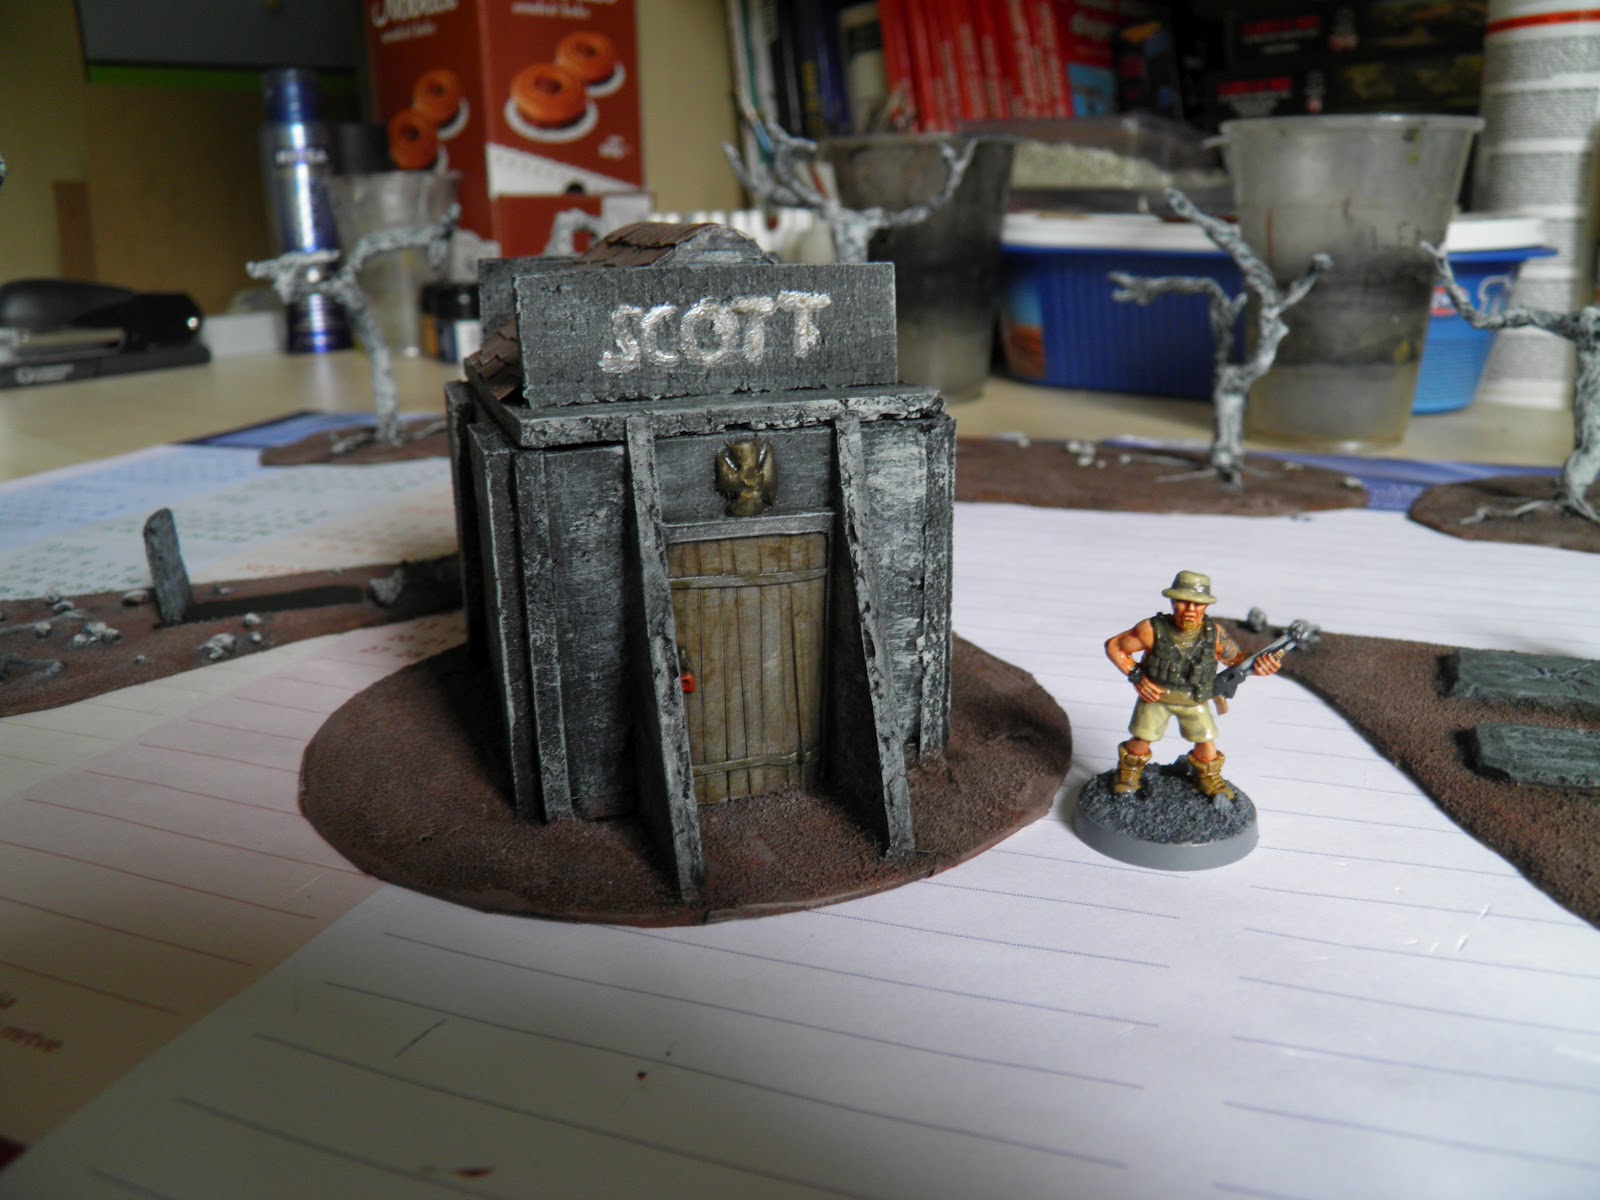
Lets take a closer look of the pieces. Laid-back survivor will help us with demonstration of sides. Pictures are no better than usual, so well, I can only apologize one more time!
The crypt is based on an old CD, made of cork tiles I've used for most of my buildings. It is pretty basic in shape, with some bits added to make it a bit more interesting. As you can see, it is dedicated to a Scott family. Could it be a final resting place of brave captain Scott, who got doomed while searching for the Mountains of Madness in the Antarctica? Or it is dedicated to other Scott family, who's member is well known for his interest in the misteries of occult and undead? Shall we ever know the truth, it will most certainly be posted on this page. But for now, lets just check all 4 sides of the crypt:


The roof opens and thats how it looks like in the inside:


Thats about all I've got to show you regarding the crypt itself. Next are the trees. I went for dried look, thats why the trees are all grayish. Theyre made of wire, PVA and some toilet paper. Some of the little detailes were sculpted with green stuff. I gave them some resemblings of skulls, faces, mouth and such, to make them look kinda spooky.
On picture below, you could probably spot a skull (leftmost branch) and something that might as well be called a crabs claw.


The rest of the trees are not as special, but they all got something hidden somewhere. I didn't want all the features to be too visible, but if they can't be seen, whats the point of making them?


Look, is that...an eye?


For the end...you might remember I've started scultping some more beasts a while ago. This fellow, a conglomerate for Strange Aeons players had the most progress done. I've made it shortly after posting that post, where I was mentioning it for the first time, but never got a chance to show it. He is pretty small, but was much fun. A conglomerate is just that, a conglomerate of various beasts and human body parts. I gave mine a human leg, a hoove, a human face (that has scared impression, looks like it can think separately from the creature and does not like what it has became a part of!). Then we got...well, a man's treasure, a tentacle (that fell off 2 times and i will pin it now) and a huge mouth with a tongue sticking out. It will probably get another tentacle on the other side of the body, unless I'll manage to sculpt a good looking hand.


And the monsters back:
I think you can't backstab this fella, it seems like he sees things clearly!
If you check it, each leg goes its own way...the heck? Well, a sculpting accident, but it looks even better that way!


Thats if for today! Thanks for looking,
Mathyoo
Fantastic look monster you've sculpted. I agree about the name it looks good as freehand but a bit like graffiti to me which doesn't quite fit the theme if you know what I mean.
ReplyDeleteCould you get stencil or something and cut the letters out of plasticard and then add them as if they've been carved out of the stone?
Good work all around, Mathyoo! I agree with Simon that the name on the crypt does look like it has been graffitied on. In addition to Simon's suggestions, you could take a thin rectangle of modelling putty and scribe the name in it using the nib of a pen. With a metal ruler and a craft knife you could scribe in two thin lines first of all to give you the height of the letters of the name. Then write the name, making sure you keep within the two lines. Just a suggestion. It's funny but the name "Scott" does ring a bell!
ReplyDeleteNice work. I can see you have been busy.
ReplyDeleteThat looks amazing!
ReplyDeleteWell done and it has given me some ideas as well.
Thanks guys! I'm glad it spreads the ideas, lol.
ReplyDeleteI'll probably really carve it in GS plate next time I'll be sculpting, it should be the easiest way, producing a nice looking resoult!