Before I start with the main topic of today's post, I would like to thank each and everyone of you who have helped this blog get 50,000 hits. I am trying to make my posts interesting and at least somewhat hobby related even when I don't have much to show you. Your comments are always appreciated as they are an inspiration and a push force for my projects. Thank you!
This Tuesday, a long anticipated mail finally arrived all the way from the remote Scottish highlands!
Mail was from one Hunterpest, an owner and a man behind Project Zeke miniatures (alternatively, click the banner on the left ->).
You should also check his blog, HERE. He very kindly agreed to put my F2000S and minimi (based on AUG and minimi made by and with permission from E-bob) in his mould while he was casting his own miniatures.
I got to say they look much better in person. I am really happy with the rifles, but they should be a tiny tad higher up front I think. My work on the minimi is limited to a modified ammo pouch, optics and horrible stock.

I will use these "version 1" rifle as a basis for (you guessed it!) "version 2" variants. Those will include the three basic versions used by Slovenian Armed Forces: standard with red dot, standard with UGL and one with magnifying optics.
Below are the greens. In process of mould making, the temperatures and pressures are high, so they come out burnt. This is why plasticard doesn't work with metal castings, unless you'd cast them in resin first. As you can see the gun surivived the trial, but minimi's stock broke (like countless times before I even gave up and called it finished). I have to admit I am disappointed in myself for not persisting as every little mistake is noticeable on the casts.


I am pretty sure I mentioned this before, but the difference between the standard FN F2000 (the one you see in computer games) and Slovene FN F2000S(lovenia) is in the rail for optics. Original gun has (when you take that oversized box off) a plastic rail that is fitted straight on the gun, while "our" version has a steel rail that is a bit rised, to allow space for a carrying handle. I have "intended" this handle on my sculpts, but it is so tiny it's barely noticeable. There are also some inside differences, but those don't really apply to our hobby.
 |
| F2000 "tactical" - the purely standard version has mechanical sights on top of the optics housing. |
 |
| F2000S with an aimpoint red dot - the one with UGL is the same. |
 |
| F2000S with trijicon "sharpshooter" optics - one per squad. |
I also filled and tried to thin the flash guard a bit...I can't really reproduce the shape of the original, but it doesn't have to that thick, either.
 |
| You can see the tiny wire on the back of the optics in this photo. This was made to be cut away. |

Trijicon was a bit more complex. The one you see below got scraped and I gave it another try.


It has dawned to me I probably talked more than it was necessary in this post again, so I apologise for another lengthy post, but at least I have included lots of photos!
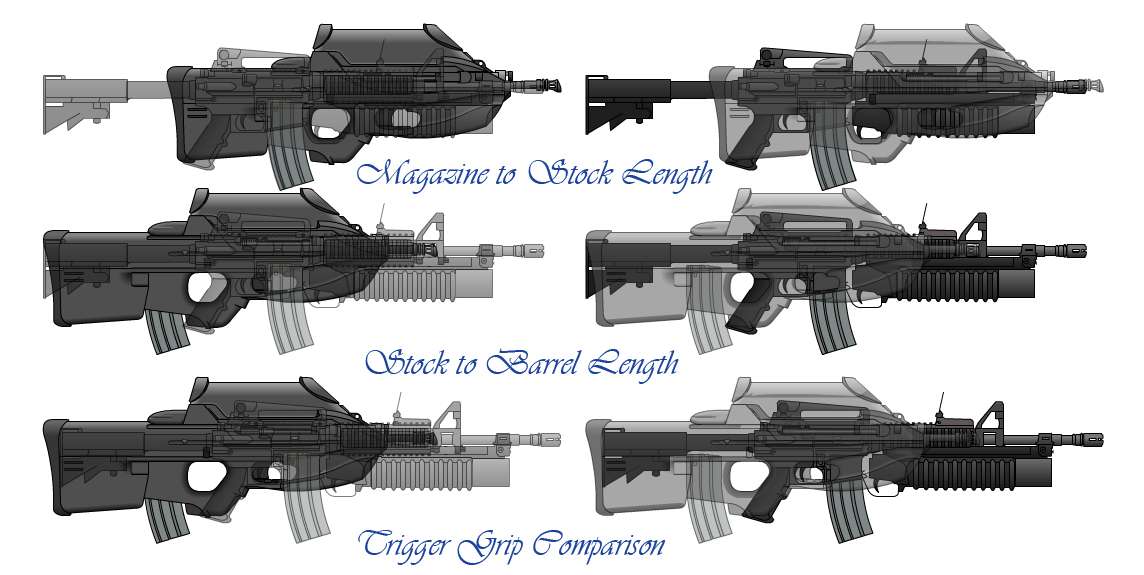
For a conclusion of today's post, I figured I would show you a size comparison photo. Below is an F2000S, British Sa80 (some 10 cm longer than F2000 IRL), M16 (around 30 cm longer IRL), Ultima ratio commando sniper rifle I am making (as usual, I hit a brick wall at the scope) and lastly a RGW90 disposable anti tank weapon. This one was finished before but I cut some of it off as it was too long. It should be as long as M16 IRL, so as you can see, I messed it up a bit.


I also apologise for shameless advertisement, but I think this is the least I can do for the great guys of afore mentioned sculptors. This project would never come to a stage it is now if it weren't for their help.
Thanks for looking,
Mathyoo
Wow. Seeing your own work cast must be pretty exciting.
ReplyDeleteKeep going dude, you are improving all the time.
Thanks Bob! And hah, I don't know for the others, but it gave me a warm feeling of accomplishment and pride :P
DeleteI really do admire your persistence with something I would have said "it'll do" long before you get to the stage you're at. I wish some figure manufacturers would take the same trouble, getting their figures to similar standards.
ReplyDeleteThank you Joe, means a lot :). It is just this one thing, though, at painting it's "good enough" pretty quickly :D.
DeleteI totally agree with Joe. All credit to you for taking the time to get it right. This is an excellent attitude to have as a budding sculptor. You must be so proud to receive your very own set of guns sculpted by yourself but cast professionally.
ReplyDeleteThanks! It took me around a year, so it isn't all good, to be perfectly honest.
DeleteI had not seen this gun before it looks like it comes from a SCiFI movie. And You have done an excellent job of re-creating this weapon. It is a credit to your skill.
ReplyDeleteIF I was doing some modern 28mm figures I would send for some straight away.
Such a shame I am not.
Heh, it's quite fantastic looking, isn't it? The original one is even more sci-fi, it has a nice scope housing that follows the gun's lines. I'm glad you think it's a great re-creation as all I can see by now are the mistakes and missing parts :D.
DeleteI'll probably have some laying around if you ever do ;).
Awesome mate!
ReplyDeleteNice one, man. Looking forward to seeing that UGL.
ReplyDeleteCheers mate, and thanks again. I am tackling UGL - have drilled a hole and stuck in a wire (I'm trying different approach this time), but I am gathering the courage before I start pushing putty :D.
Delete